If you're evaluating whether to do this yourself or have an agency handle it, read our WhatsApp Business API guide first. If you've already decided to integrate, this is the tutorial.
Before you start: what you need
- A Meta Business account (business.facebook.com)
- Your Singapore UEN, ACRA BizFile, and a business website
- A phone number that can receive SMS or voice calls
- A server or hosting environment for webhooks (or a BSP that handles this)
- Basic familiarity with REST APIs if integrating directly
Step 1: Create a Meta Business account
Register at business.facebook.com with your business email, name, address, and website.
Go to business.facebook.com and create an account if you don't already have one. Use your business email.
Step 2: Start business verification
Provide your UEN, ACRA BizFile, and business details. Meta reviews in 1 to 3 business days.
In Meta Business Suite, go to Settings > Business Info > Business Verification. You'll need your legal business name (matching ACRA), UEN, business address, and a supporting document.
Step 3: Add WhatsApp to your Meta Business account
In WhatsApp Manager, create a WhatsApp Business Account and choose Cloud API.
Step 4: Register your phone number
Add your number and verify via SMS or voice call.
Step 5: Generate an API access token
In the developer portal, generate a temporary token for testing and a permanent System User token for production.
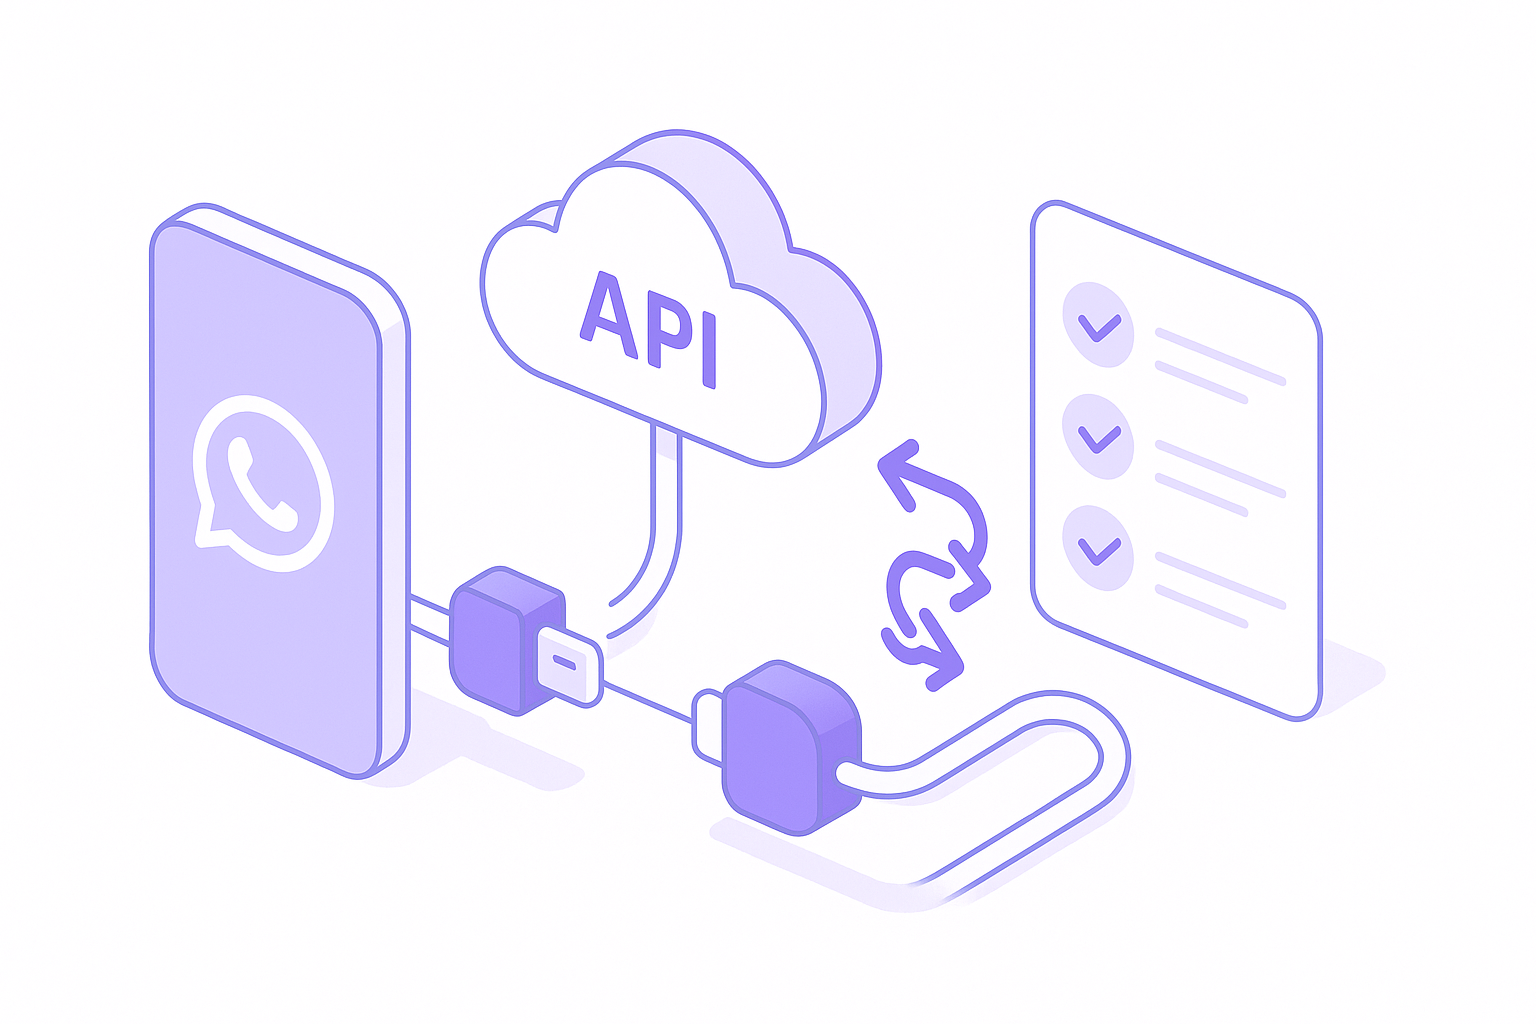
Step 6: Configure your webhook
Set up a publicly accessible HTTPS endpoint to receive incoming messages and status updates.
Your server must respond to Meta's verification challenge (a GET request) and handle incoming POST requests with message payloads. If using a BSP, they handle this for you.
Step 7: Create and submit message templates
Create template messages in WhatsApp Manager. Meta approves within minutes to hours.
Template examples:
- Utility: “Hi {{1}}, your appointment at {{2}} is confirmed for {{3}}. Reply to reschedule.”
- Marketing: “Hi {{1}}, we have a special offer for you this week: {{2}}. Tap below to learn more.”
- Authentication: “Your verification code is {{1}}. It expires in 10 minutes.”
Step 8: Send your first message
Use the Cloud API to send a template message with your access token.
POST https://graph.facebook.com/v20.0/{phone-number-id}/messages
Authorization: Bearer {access-token}
Content-Type: application/json

{
  "messaging_product": "whatsapp",
  "to": "{recipient-phone-number}",
  "type": "template",
  "template": {
    "name": "{template-name}",
    "language": { "code": "en" },
    "components": [{
      "type": "body",
      "parameters": [{ "type": "text", "text": "John" }]
    }]
  }
}
Step 9: Handle incoming messages
Process webhook events and build chatbot logic for automated responses.
Step 10: Go to production
Replace temporary tokens, test all templates, verify webhook reliability, and configure your team inbox.
The faster path: use a BSP or agency
BSP platform (SleekFlow, Respond.io, Voltade, etc.): Handles steps 5-9 for you. Setup in hours to days. See our BSP comparison.
Implementation agency (like DoubleAM): We handle all 10 steps plus the automation layer. Setup in 2 to 3 weeks. Chat with us on WhatsApp to get started.